You are browsing corvette7 

 02-17-2013, 12:58 AM
|
#1 |
        
Drives: 2004 Monte Carlo LS Join Date: Nov 2012
Location: Janesville, WI
Posts: 2,414
|
2004 Monte Carlo LS Build Thread - TONS of pics
I had been asked a couple of times to post a build thread on here for my Monte Carlo. As some of you know I'm returning it back to stock and making it how I want it for a DD and something comfortable for here on out. But anyways, here's how my past build threads have looked and I'll continue to update as times goes on with the mods that I continue to do.
           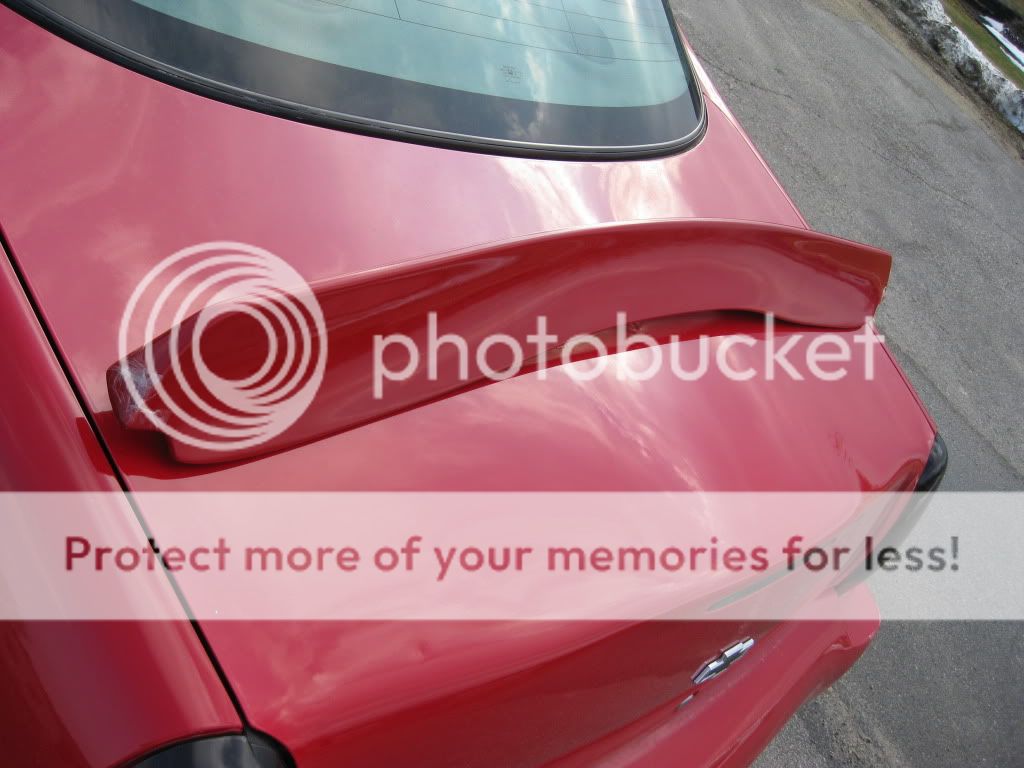  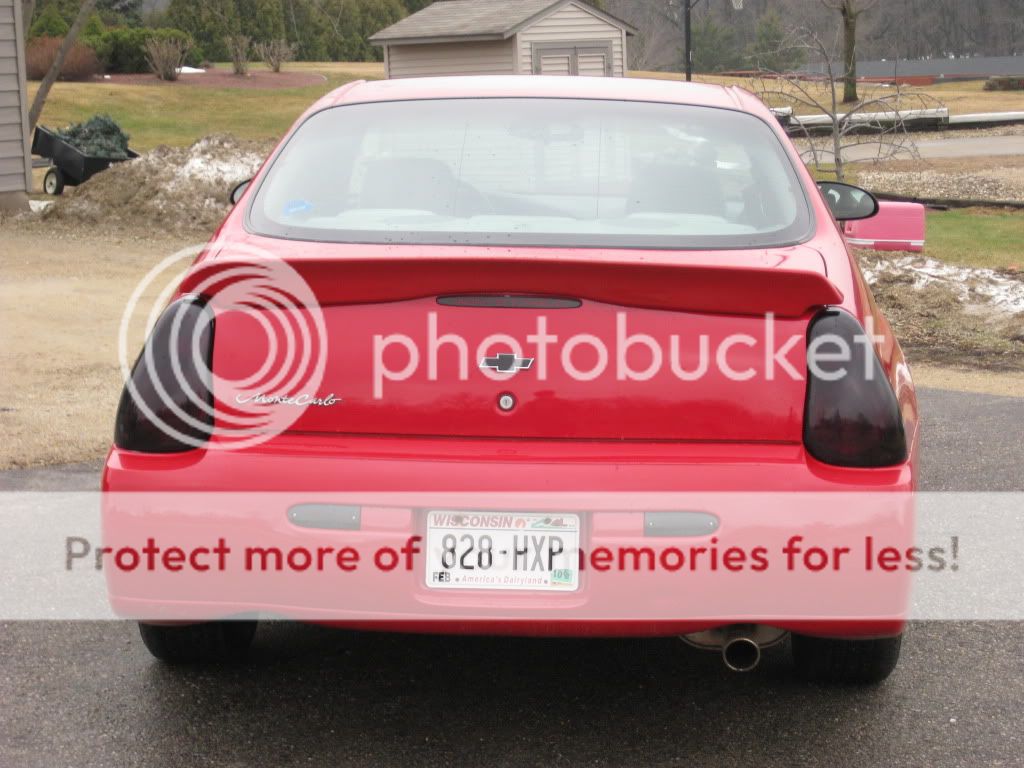  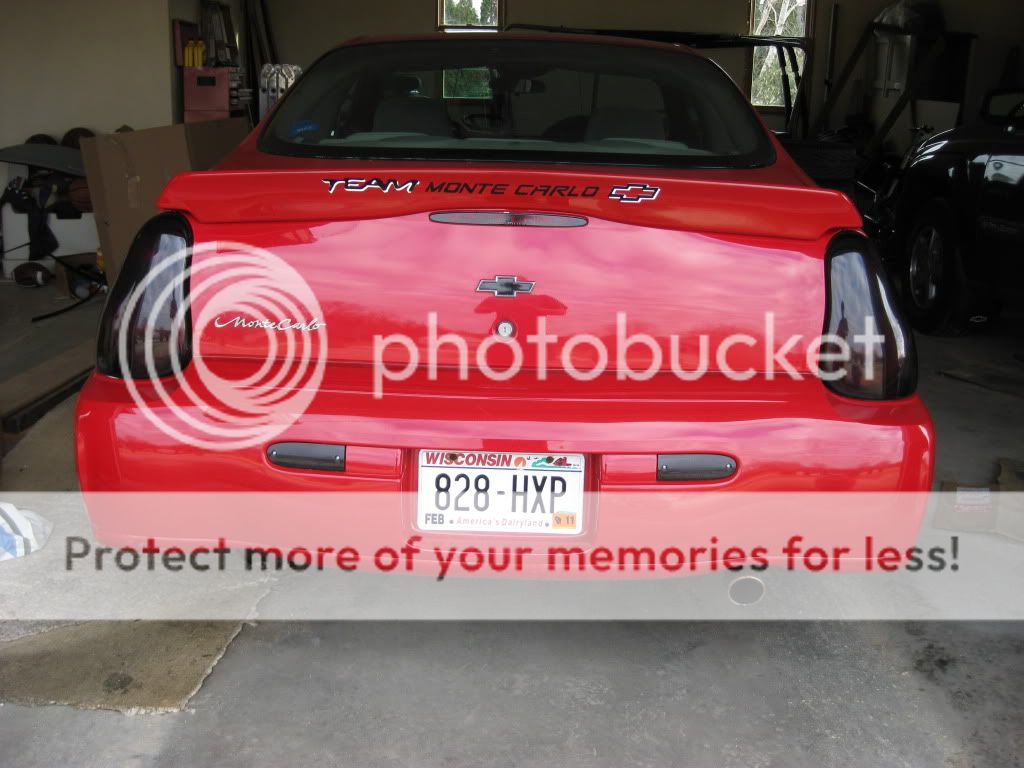    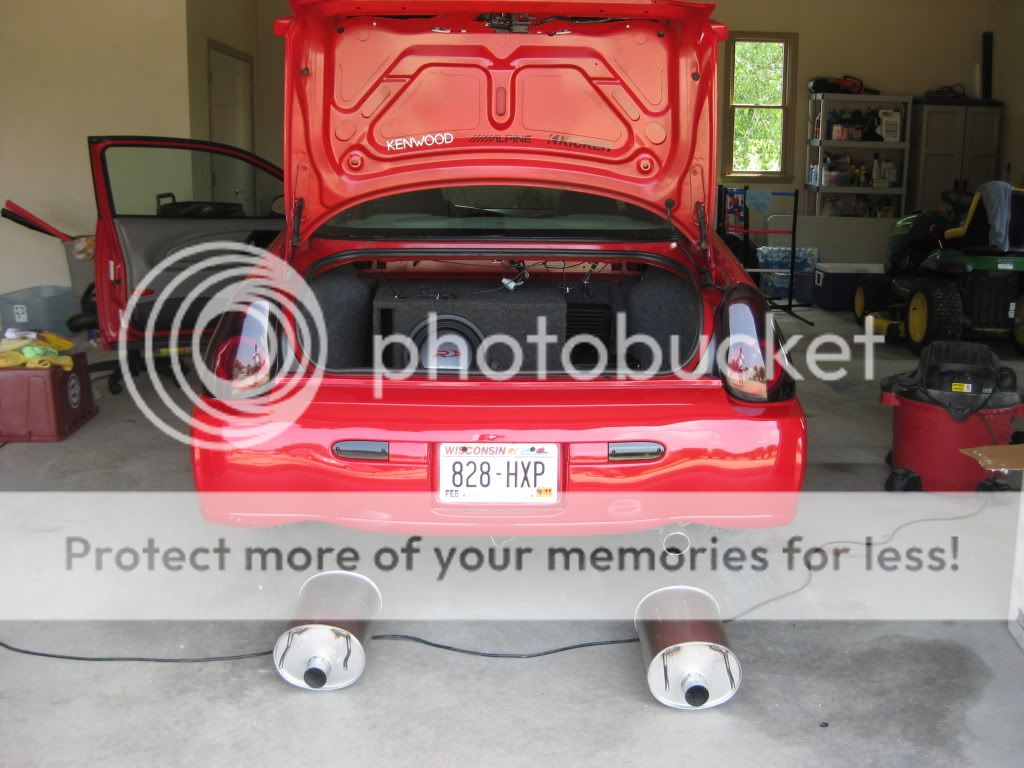 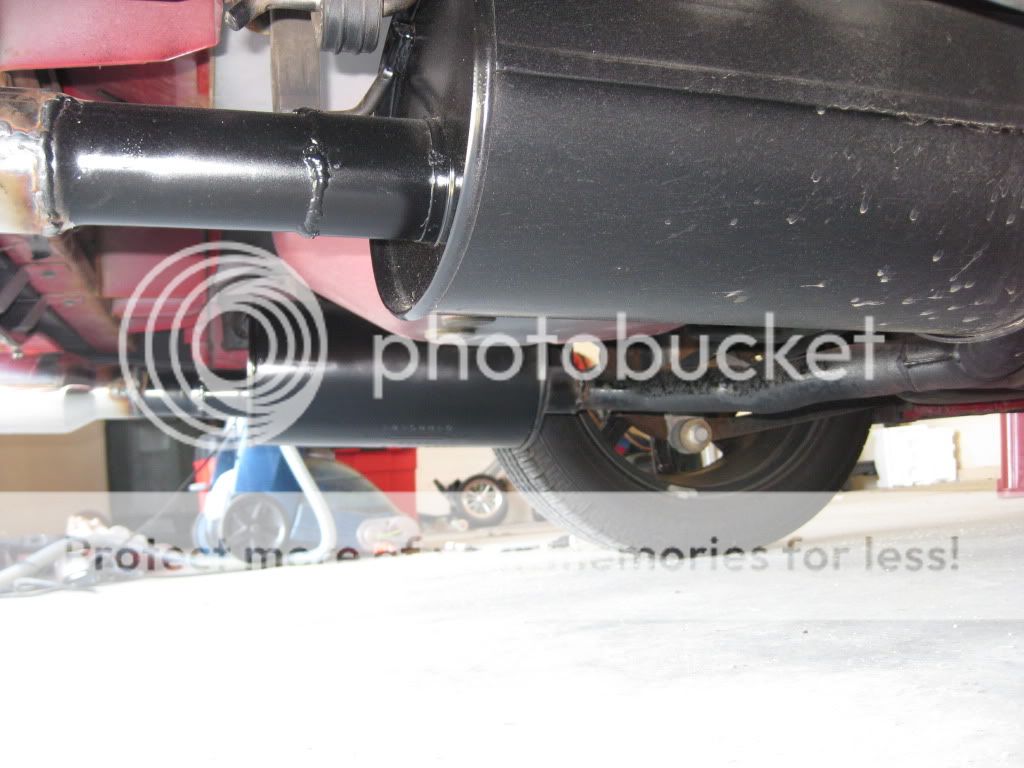 [img[https://sphotos-a.xx.fbcdn.net/hphotos-prn1/39500_416779953550_5050943_n.jpg[/img]  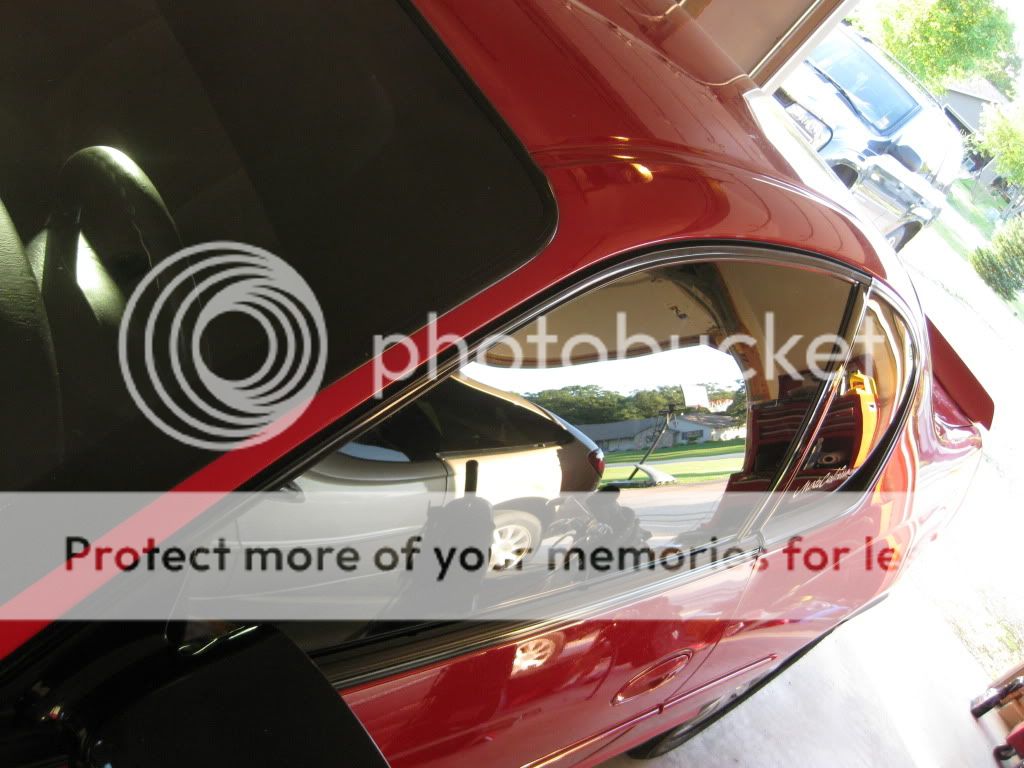 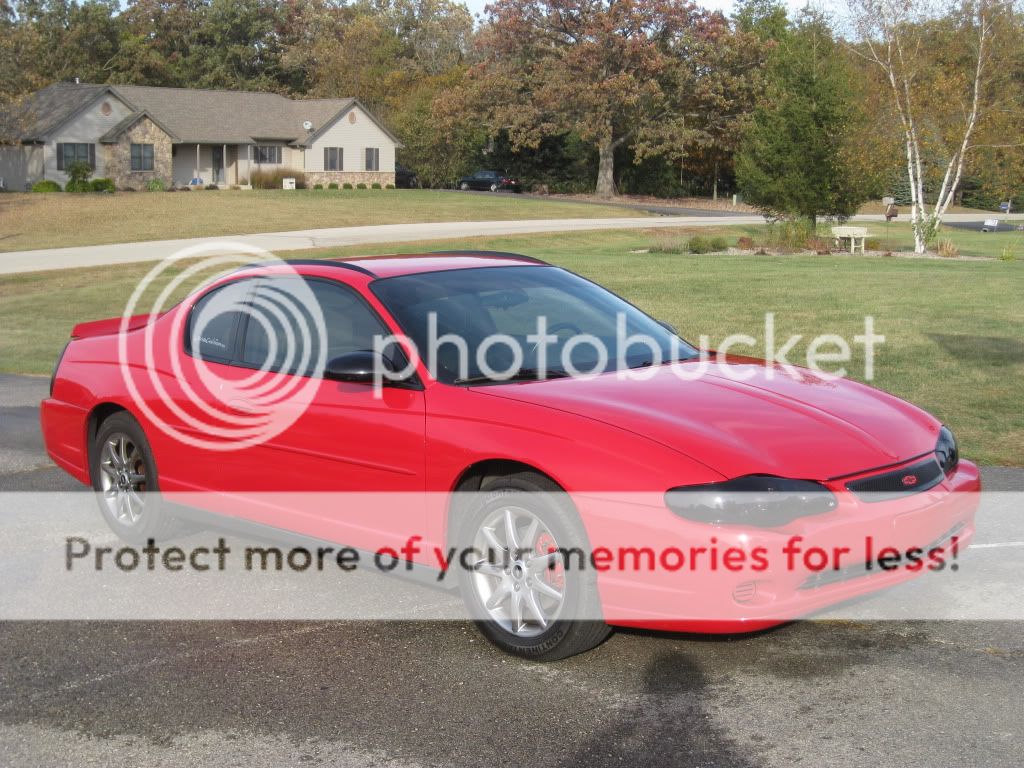        Some beginning interior painting. Yes, i know, kind of dirty ha     Through the stages of the headlights.      The SLP Grille, can kind of see better here how it looks better behind it and no red showing through.  Look at that dirty, yet color coordinated front end hah  Chrome Turn Signals, look carefully hah before:  after:  ubend delete  just cleaned it up and took the photoshoot that britt was beggin for lol                            and this one just gets me excited haha  i refinished this little plastic piece in the engine bay.   and then i tried on my turn signals, and this is where i really need help, i sanded them down and tried to make them look reasonable, i must have used too low of grit sand paper or something, because you can see the sanding marks and the marks of what paint is on from before still, what do you guys think i should do? i want the old paint outlines gone and i dont want to see the sanding marks, heres the pics.   got the tint done!!! some of it still has to settle in but im satisfied, went 35% all around and 20% on the front windshield gotta love that victory red       heres the most recent work i did today, removed the monte carlo on the trunk because it was crooked and i think it looks good with just the bowtie. i will be ordering the tips on monday and hopefully the cutout soon after that, and will begin putting money aside for the install =]  OMG! Tips!         i did get the scratch and dent ones for a cheaper price so there is one where you can see a kind of big scratch, but that tip will go on the drivers side and will be barely noticeable ITS HERE!!!!      Today retinted the tails, and did the tails on a buddys camry.  Also, didnt like the silver behind the tips to painted the exhaust before the tips:   with my dog ha. And last but not least, and my favorite, check it out!  SLP Lower Grille     today, did a full claybar, and wash/wax, getting ready for the show, also got my most recent add-on, and the bowtie is coming soon from lisa for the upper grille!   ROOF RAILS!    had a little problem, it pulled some paint off and some fiberglass? but it gets covered up..      Overall im super satisfied, that second to last pic is my new favorite picture. Got my new tails in, I love them!   Also, looking at putting on a new shift knob.  As promised, thanks to Josh (jaws), helped me out with a deal on this receiver.       And also got the digital processor, this will go in when it gets a little warmer out.   Some updates here: This pile of boxes just waiting for summer  Started painting the Wizared.  Painted it black: (Notice the new breather filter on the oil cap)  The black didn't work out the best so I used some filler primer on it and was planning to repaint, but ran into a little issue:  So I had to completely strip all the paint and primer. I also had the breather filter with the chrome top so I painted that black also:   I also got my steering wheel buttons back, will have all four buttons with red leds (not installed yet) Here's what I just got, Don Rome Fenderbraces. I plan to paint them black like the Wizaired and have them say Monte Carlo in gray to match the manifolds.  Also, the car is now in storage so here's some pics of the day that I stored it.     New Fuel Door (thanks Frank!) - my current door is rusting through, so this one will be fixed of any rust and sealed and then plasti-dipped on the back.   Front plate filler, the original one needed some work, and this one is in a little better condition. If anyone else is interested I have another like new plate filler, just pm me!  K&N Precharger (Thanks again Frank!) and a roll of tint, I will be tinting my gauge cluster and my fog lights to change up the look of the interior and front end   Black airbag cover for the passenger side, this is just the start of my black interior conversion, this one will be going slowly but surely.  Lasly, a mirror from a Grand Prix, i'm going to be working on getting the temp sender to work for this mirror, the compass is internal, so that should work by default, also I'll need to figure out how to get some leds or something on or in this so I have some front dome lights.  I'm continuing gathering parts for my black interior swap..   Also, the big boy:     I got the car home and got her detailed by Gothkid  Duke was getting an enjoyment out of the weather..  I'll have to do a full photoshoot when I get home this weekend, it was a little chilly that weekend. I started the week by wiring up an autodim/onstar mirror, I really wanted autodimming.  I then tinted my gauge cluster, this wasn't taken with a good camera but it's black until you turn on the lights, but still clearly visible during the day.   I also repainted my turn signals to get rid of the ugly amber color.  After I painted them I decided I was sick of the crappy finish on the headlights so I restored them a bit.  As you may be able to tell in the above photo, my turn signals are now different also, I went with the switch back LEDs, you can see them in the video below.  I also put the hood liner back in and repainted the lower grille and my new plate filler (this pic is after a couple hundred miles after the detail)  I also got a start on my black interior swap  I also put some work into cleaning up the toolbox, but the week quickly came to an end..  so everything waits in the back of the monte....  I also got some more filming/photo gear...  and just today I got some more engine goodies in... powdercoated valve covers and MSD wires (going to use as my backup set of wires, plan on going ZZP wires)    Got some work in on prepping the highsport: Before:       After:   Also, got my fuel door replaced, got the new one sanded, sealed with Gemplers and plasti-dipped to give it a clean and complete look: Before: (the old one was rusted and starting to push through the other side):   During: (cleaned and sealed the areas that were down to the steel behind the door also):   Sanded down the fuel door:  Plasti-dipped:  Reinstalled:    I really like the back of the fuel door being black for some reason Got my grille and plate filler back from Mike:    Got my springs - went with Vogtland springs, going to go with KYB struts - possibly adjustables. Springs are getting re-powdercoated the same color.  Pressed my poly dogbone bushings in and starting to get them sanded and ready for paint.  Also, got my 15 feet of stainless exhaust pipe. 304 stainless and 16 gauge.  Starting to undercoat the Monte..    The rest will be done when it goes up on the lift so I can grind down on the very little surface rust there is and convert it then undercoat it. Only update I have now is that my front end got plastered with bugs lol  Before:  After:  Finally got these  So excited. So excited.Here they are out of the box, a little messy, not the greatest shape.      After Wetsanding  After a little work and buffing. They still need more work, going to buff and try to clean the inside a bit.   This is on the inside, going to try and get something in there to clean it, don't want to be pulling these bad boys apart haha  Some simple sanding and buffing, got 800 grit now then working up to 2000, these things should look brand new!   Baking them apart  Finally apart, that was hot and that was rough haa  These will be getting painted soon, completely polished and everything and then get resealed correctly and better than original. Here's some updates:   
__________________
2004 Monte Carlo LS - 1966 AMC Rambler Rebel Classic - 2000 Trans Am WS6  |

|

|
|
02-17-2013, 12:59 AM
|
#2 |
|
Drives: 2004 Monte Carlo LS Join Date: Nov 2012
Location: Janesville, WI
Posts: 2,414
|
I then began to retrofit my headlights:
Oznium Red LED Surface Mount. 3 in each projector for demon eyes.   Morimoto Mini:  Gatling Gun Shrouds:  Together:   Painted Vs Non-painted housings:   I needed to flatten these plastic lips:  before:  after:  before:  after:  Test Fitting - They will be all black with red accents in the end:  Okay guys, so I got some output shots for you guys... only 2 for right now until I actually get everything mounted:   I also got started on painting, everything has been made into gloss instead of a textured flat black. The far shroud needs to be repainted as it started running just a bit, but that's no problem.  Tomorrow I'm off to the parts store, I'll be painting part of the shroud red and the shield red. I'll also be mounting the LEDs and then getting everything set. The paint is all dry.. I'm not going to clear until I can do everything at once... Here's the results:    Also, got my centric rings to mount the shrouds:  First, I had to trim down the back of the shrouds to make them fit a little more flush with the projectors, in this pic the areas not taped off were going to be painted red, I have since changed my mind after a mock-up that you guys will not get to see, not until the end at least hehehehe: before:  after:  I then wanted to get this original sealant out before I started paint... before:   after:   I then had to cut away at part of the shrouds to make them so that the beam can be moved up any down just like they would from the factory:   Now, everything is getting a layer of gloss black, these will get cleared tonight and then the housings will get black gloss also and hopefully cleared tomorrow.   Nice job painting inside :rotfl:[/QUOTE] It was the aftermarket original glue, it was crappy and made it hard to replace the lens. I'm going to use clear silicone unless I see something that'll be better lol It's cold outside, roommates don't seem to care, i'll open the window and turn the fan on haha Here's my updates.... Started to work on the LEDs for demon eyes. Still working on the second one: Projectors come apart with 4 screws: here we have the reflector bowl, the shield which lifts to allow the full beam and also makes the cut-off and finally the clear lens:  You can see how the shield moves:   LEDs getting epoxied in:     Reflectors and Shrouds are done and drying:     Will be using 2 of these for the turn signals, they are a cool white (6000k) whichever will be brighter to go with the switchbacks:  These will be used for the high beams, as I won't need the extra output and won't be able to get any with the complete black housing, these will just be for looks:  Just put the last coats of clear on the housings:            
__________________
2004 Monte Carlo LS - 1966 AMC Rambler Rebel Classic - 2000 Trans Am WS6 |
|
|
|
|
02-17-2013, 12:59 AM
|
#3 |
|
Drives: 2004 Monte Carlo LS Join Date: Nov 2012
Location: Janesville, WI
Posts: 2,414
|
The retrofits ended up working out pretty well, but I had trouble mounting the lens. This is when I decided I should probably go the other route and focus on more important things than investing all my money into a $6,000 car. I then began to pull her apart and bring her back to stock:
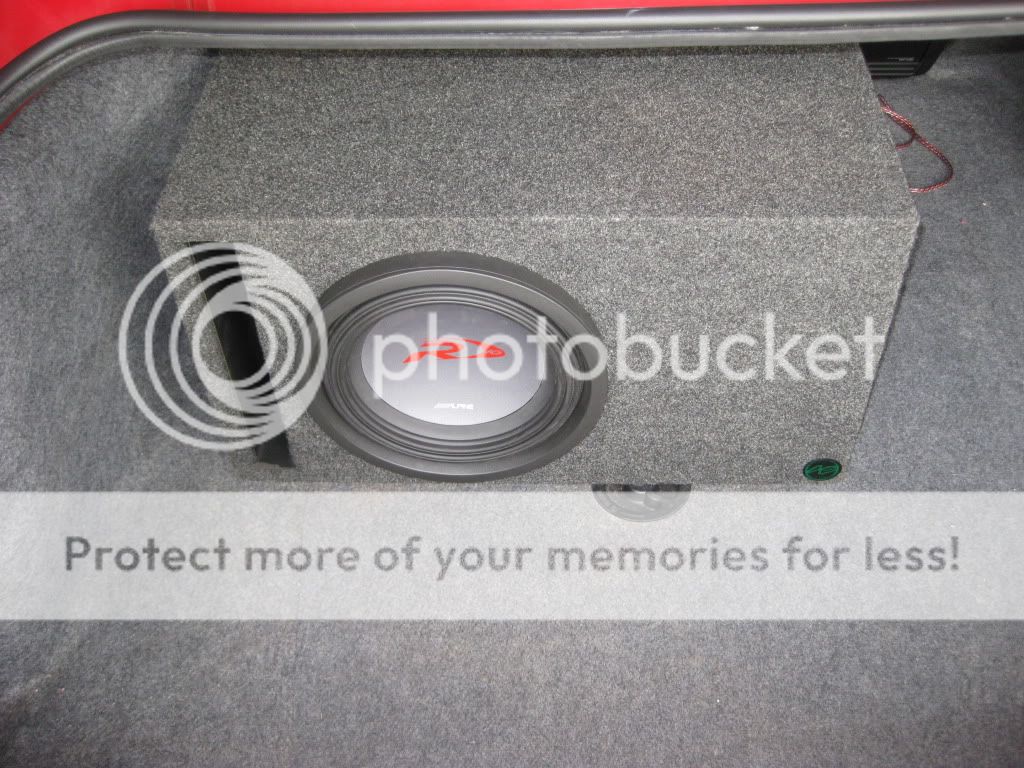
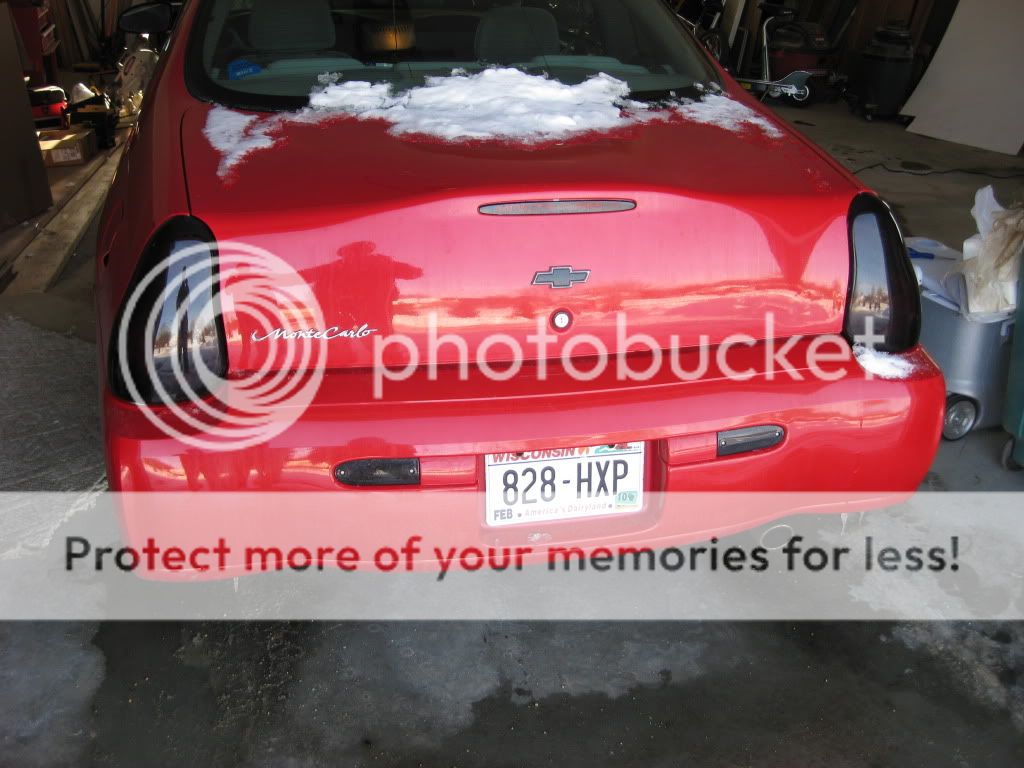
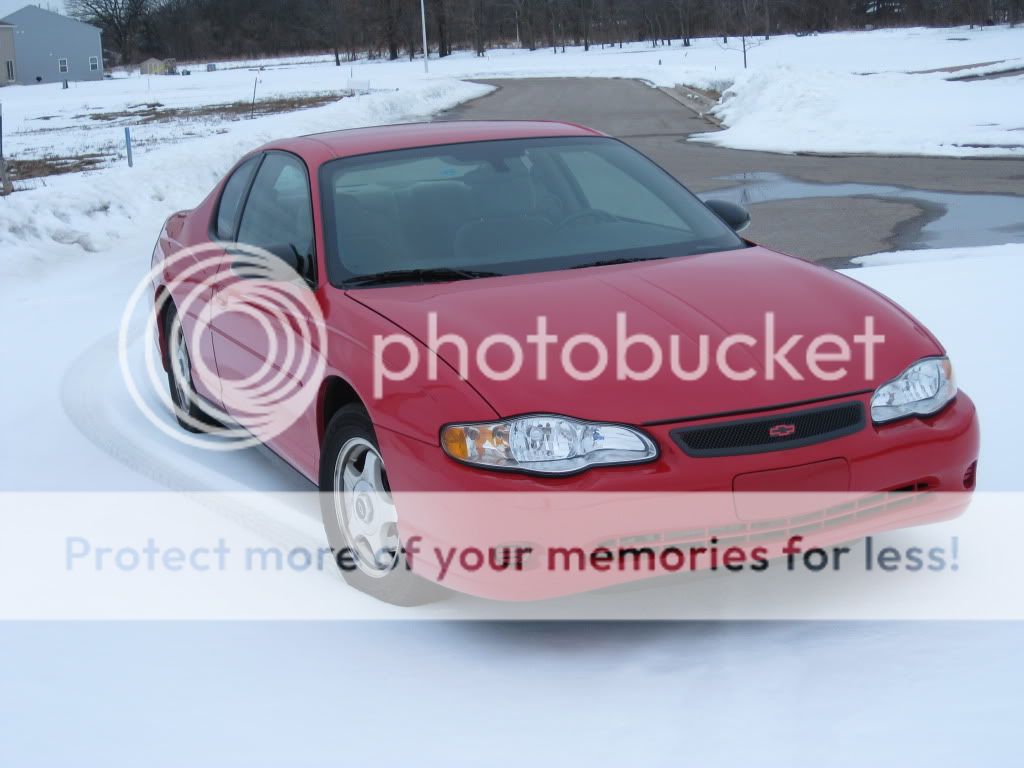
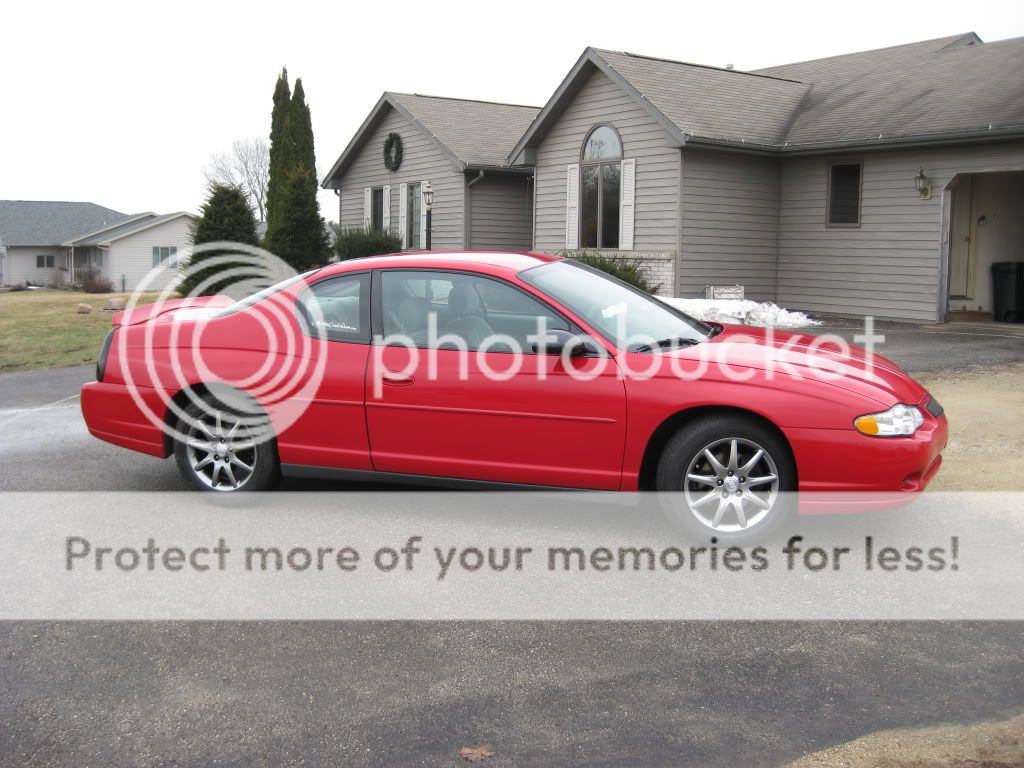
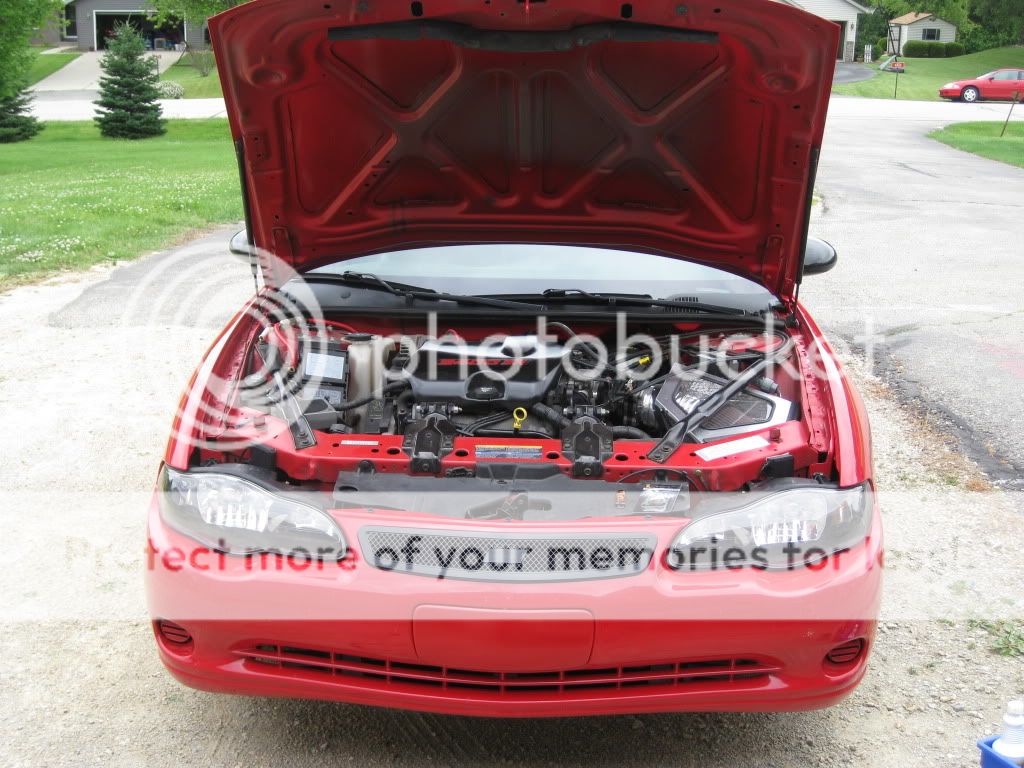
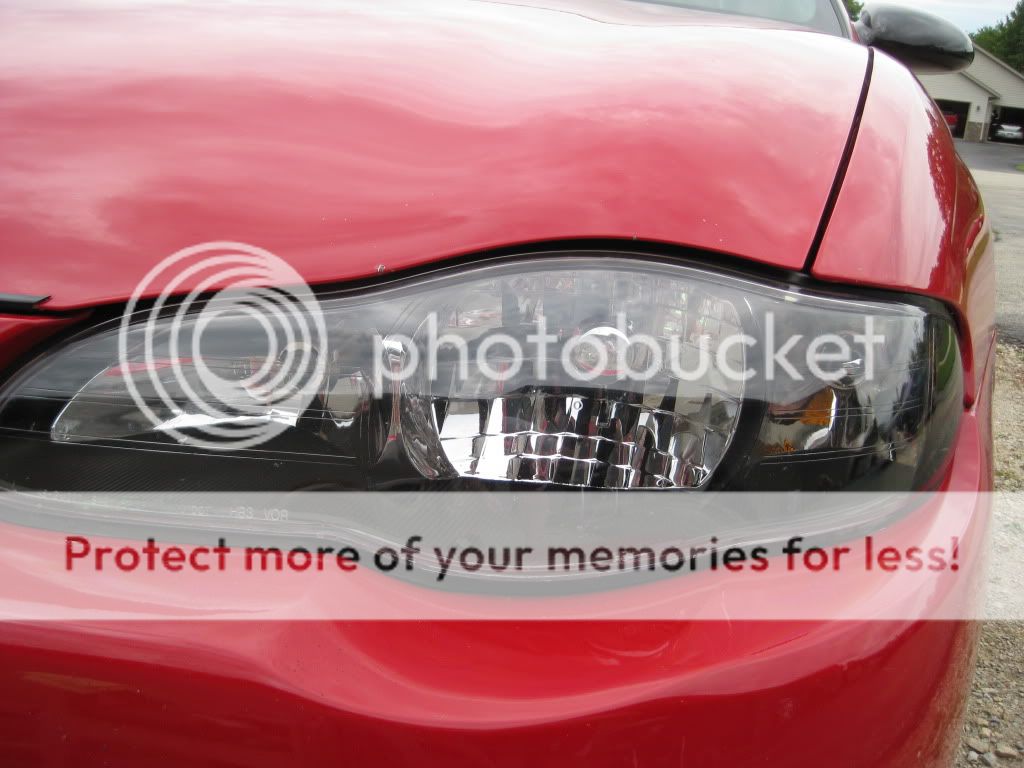
Got stock tail lights.. cleaned them up and replaced the LEDs...      Also got the OEM headunit, it was from a different car and I don't want to pay to get it unlocked, so I'm going with another aftermarket unit.       I then replaced my headlights with stock headlights that are in crap condition and removed my roof rails.   Also, removed my intake and replaced it with the stock intake:  I also fully waxed the Monte by hand, to keep her clean for the winter: Here's how she looks ATM: Put her in the garage to start last night...   After I finished:                 I can tell my brakes are working... ceramic FTL! Before:  After:   2 weeks ago I then pulled all the wiring and extra stuff that I had in the car including my system:   Got her all cleaned up later that day:  All of the stereo stuff that I removed:  How she sits as of 2-14-13 
__________________
2004 Monte Carlo LS - 1966 AMC Rambler Rebel Classic - 2000 Trans Am WS6 Last edited by trewyn15; 02-17-2013 at 01:22 AM. |
|
|
|
|
02-17-2013, 01:09 AM
|
#4 |
|
Drives: 2004 Monte Carlo LS Join Date: Nov 2012
Location: Janesville, WI
Posts: 2,414
|
Modifications from 2-17-13 and on...
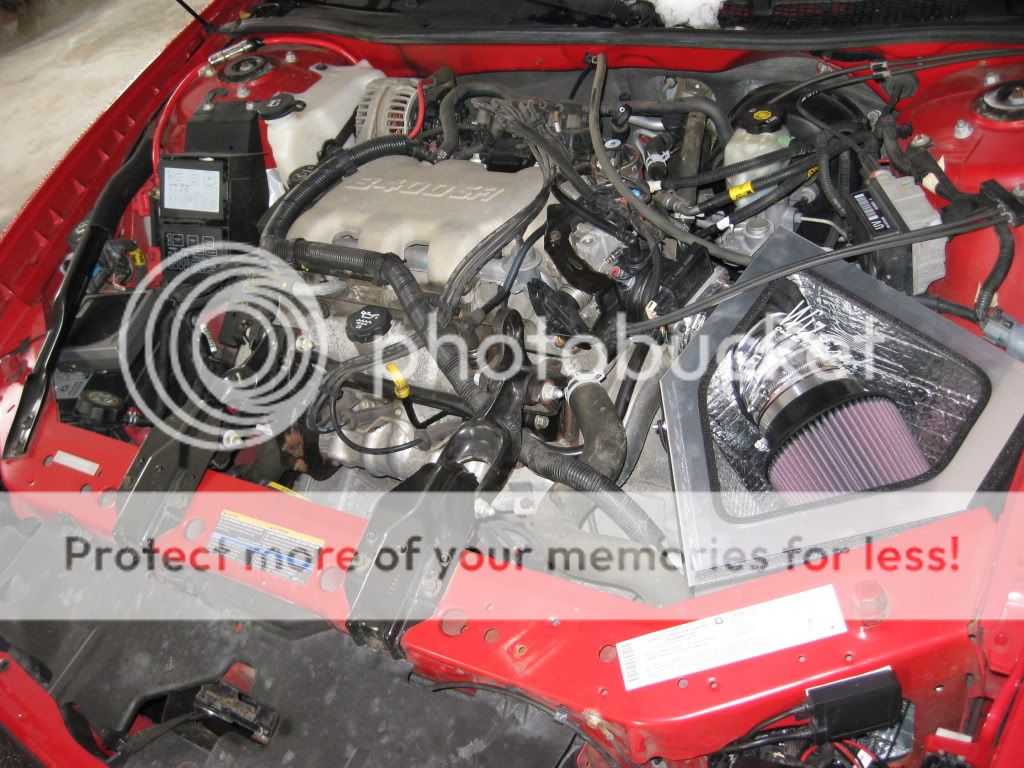
Pulled out the red interior lighting and replaced it with all white interior LEDs:        Finished gutting the Intake today, that hole is slightly larger than the hold behind the headlight, so it should allow just as much air as a CAI. I ported some through the plastic, because there were big chunks blocking air flow, so I siliconed a bit to make sure no warm air got in... still looking good, I'll just plasti-dip the silicone so it doesn't stick out so much! You can see the small hole just to the right, that was the only input and flow of air before and was right in the middle of the box...  I removed a bit more of the big bump on the right of the picture above, it is the bump on the left of this picture, it can't move anymore.  That hole is slightly larger than the hole behind the headlight where it butts up to, so just as much flow as a CAI would have, just need to find a higher flowing air filter and we should be good to go! Some little updates, intake box is done and installed: Cleaned up under it just to keep things clean:  looks stock.. is stock  Sounds:   Also went and got some fogs to replace my HIDs that I sold: 
__________________
2004 Monte Carlo LS - 1966 AMC Rambler Rebel Classic - 2000 Trans Am WS6 Last edited by trewyn15; 02-26-2013 at 02:16 PM. |
|
|
|
|
02-17-2013, 01:10 AM
|
#5 |
          
|
great build Mitch

__________________
Jannetty Racing JRE Street Package
 |
|
|
|
|
02-17-2013, 01:23 AM
|
#6 | |
|
Drives: 2004 Monte Carlo LS Join Date: Nov 2012
Location: Janesville, WI
Posts: 2,414
|
Quote:
__________________
2004 Monte Carlo LS - 1966 AMC Rambler Rebel Classic - 2000 Trans Am WS6 |
|
|
|
|
|
02-17-2013, 11:10 AM
|
#7 |

Drives: 2018 Mustang GT Join Date: Jul 2011
Location: Mobile Al
Posts: 750
|
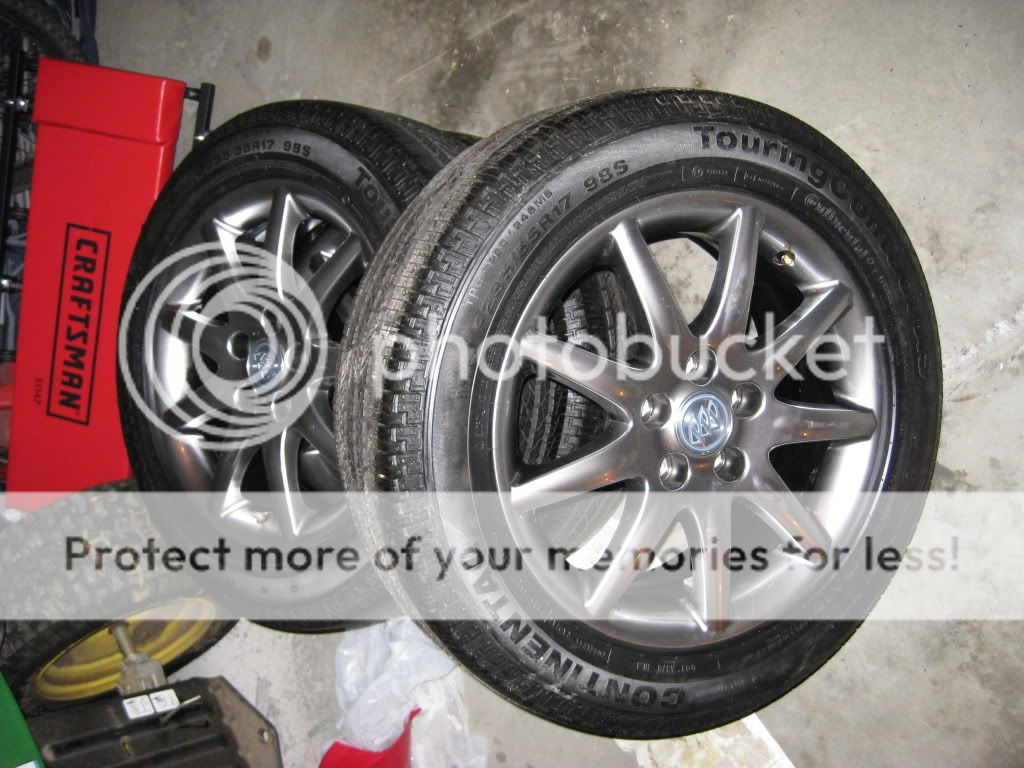
That's a lot of work but it looks great. A nice set of wheels will make it look even better.
|
|
|
|
|
02-17-2013, 05:05 PM
|
#8 | |
|
Drives: 2004 Monte Carlo LS Join Date: Nov 2012
Location: Janesville, WI
Posts: 2,414
|
Quote:
Thanks for the compliment tho!
__________________
2004 Monte Carlo LS - 1966 AMC Rambler Rebel Classic - 2000 Trans Am WS6 |
|
|
|
|
|
02-26-2013, 02:16 PM
|
#9 |
|
Drives: 2004 Monte Carlo LS Join Date: Nov 2012
Location: Janesville, WI
Posts: 2,414
|
Updated the 3rd post with most recent updates
__________________
2004 Monte Carlo LS - 1966 AMC Rambler Rebel Classic - 2000 Trans Am WS6 |
|
|
|
 |
| Thread Tools | |
|
|


