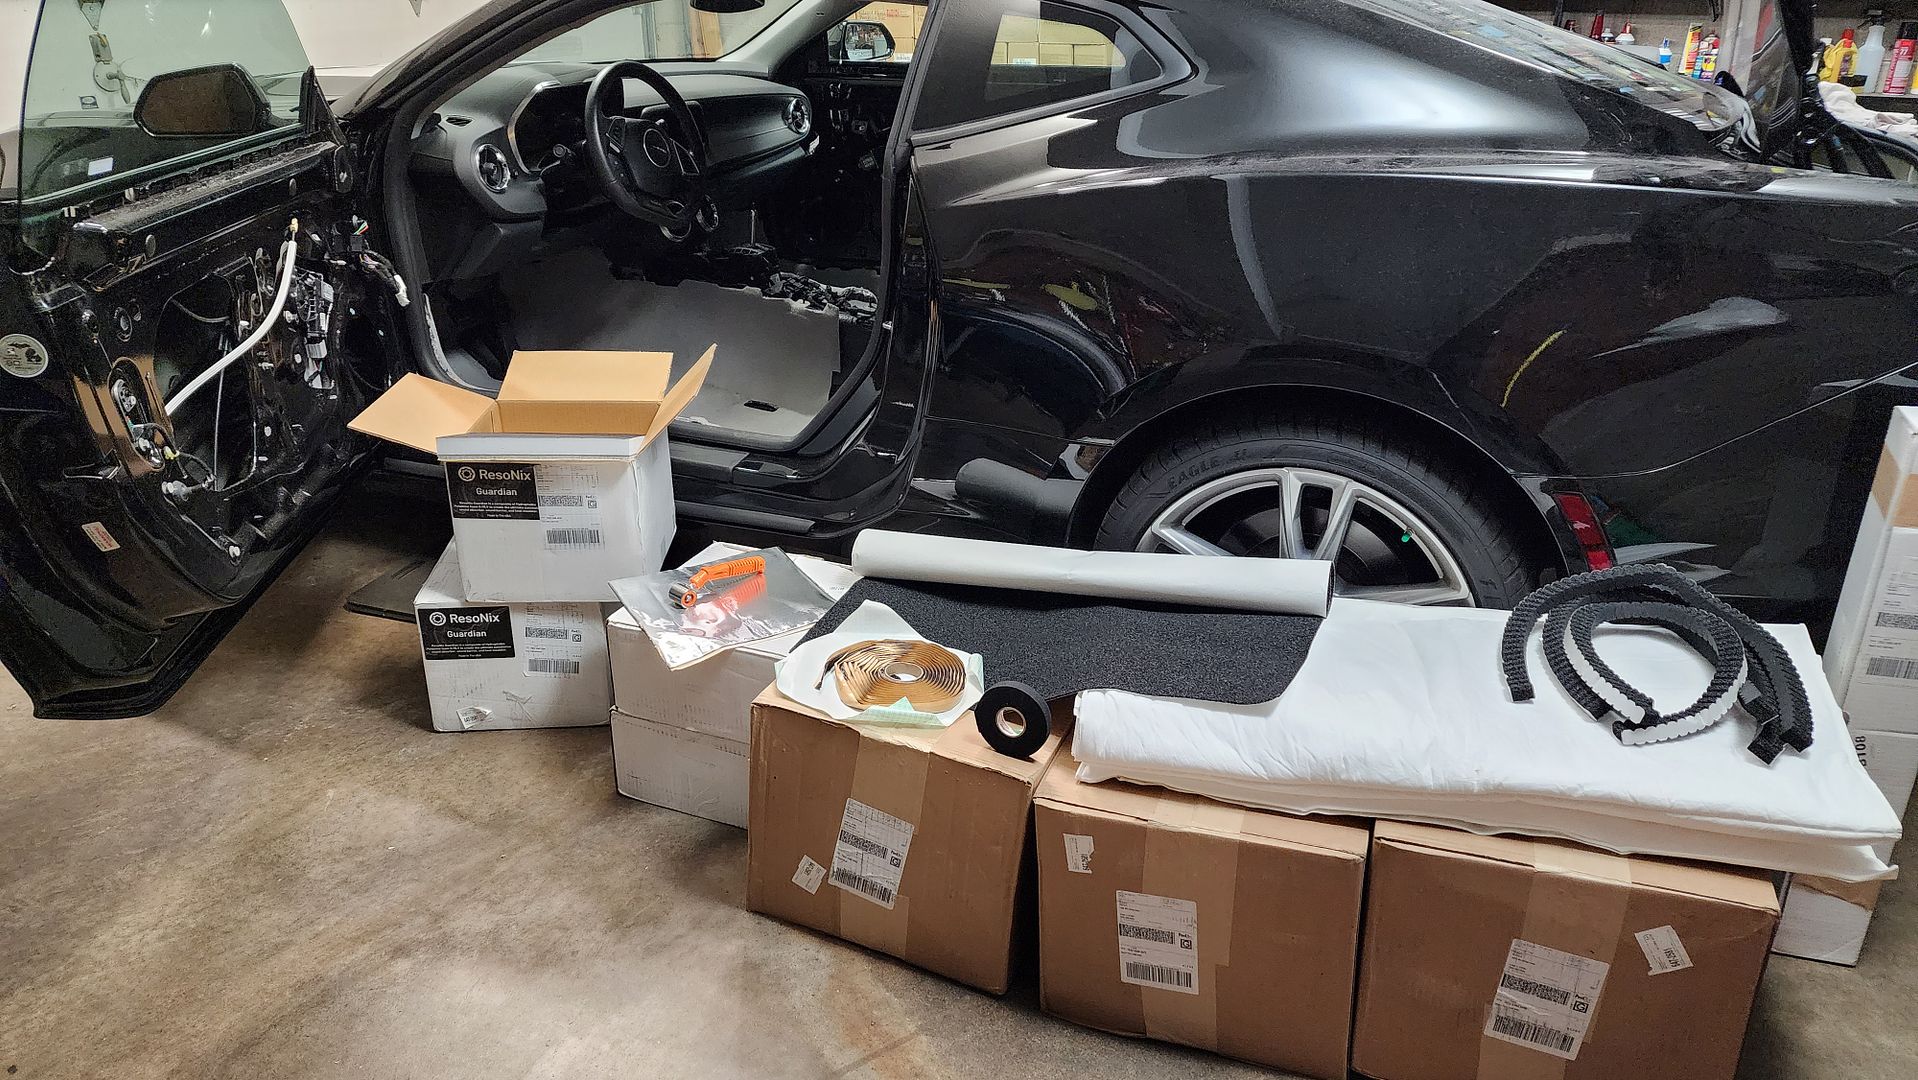
My Resonix order has arrived. Contained within the order are the following:
(2) Boxes of CLD for 80sq.ft.
(1) Box of FiberMat 25
(2) Boxes of Fibermat 45
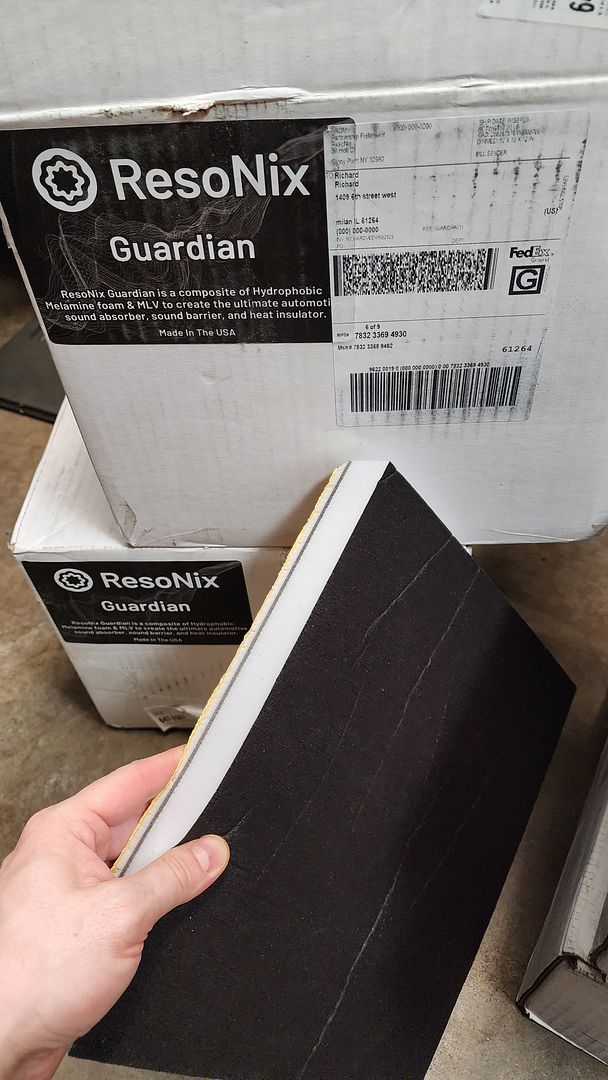
(2) Boxes of Guardian
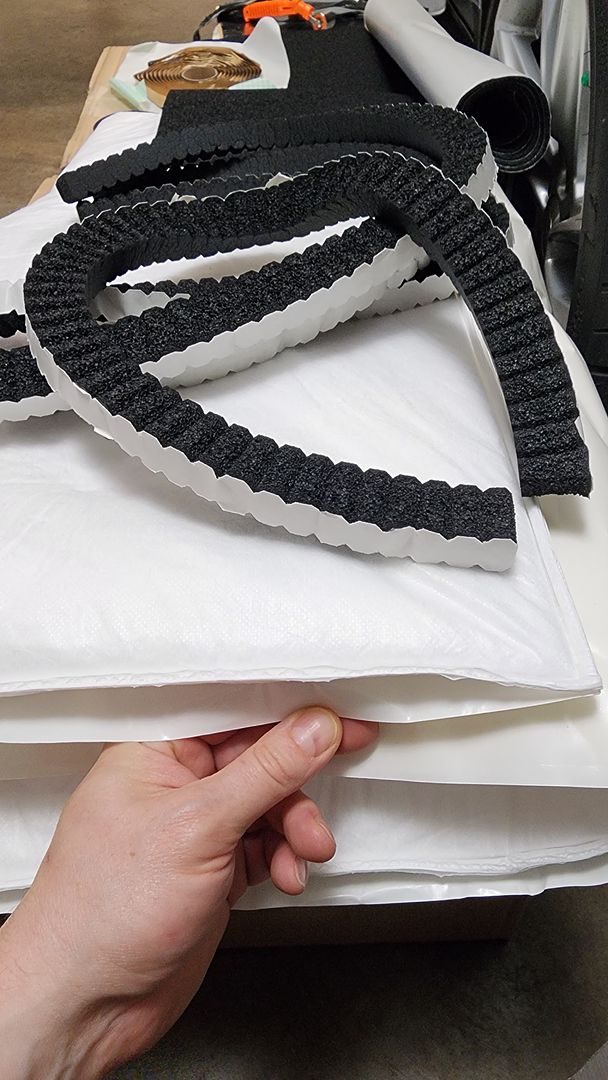
(4) CCF Speaker Ring Stips
(1) Sheet of CCF Decoupler 3S
(1) Roll of Butyl Rope
(1) Roll of Harness Tape
(1) Sheet of Moldable Barrier
Step 1 is to clean the metal surfaces to remove grease/dust/dirt.
Step 2 is a full treatment of CLD, nearly 100% coverage, along the outer door skin.
Step 3 is a full treatment of Guardian, nearly 100% coverage, along the outer door skin (on top of CLD)
Step 4 is a full treatment of CLD, nearly 100% coverage, along the inner door skin, being careful not block clip/fastener holes.
Step 5 is to close up the holes with Moldable Barrier.
Step 6 is to prepare the speaker mount which will be a combination of CLD on the adapter, Butyl Rope between adapter and metal, and between speaker and adapter, and then CCF Strips to seal the speaker to the door panel.
Step 7 is treating the door panel itself with CLD.
Step 8 is covering the door panel with Fibermat.
It’s great to finally have a viable alternative to loose insulation for sound absorption. This is a perfect product, it is the same as OEM but thicker and better, with a PSA.

Finally, a product that replaces my fiberglass panels wrapped in plastic. And this is better than a replacement as it offers superior features to anything I have made myself before.
Driver’s door is ready to be closed up with Moldable Barrier. About 12 sq.ft. of CLD and almost one full box of Guardian is on this door so far.
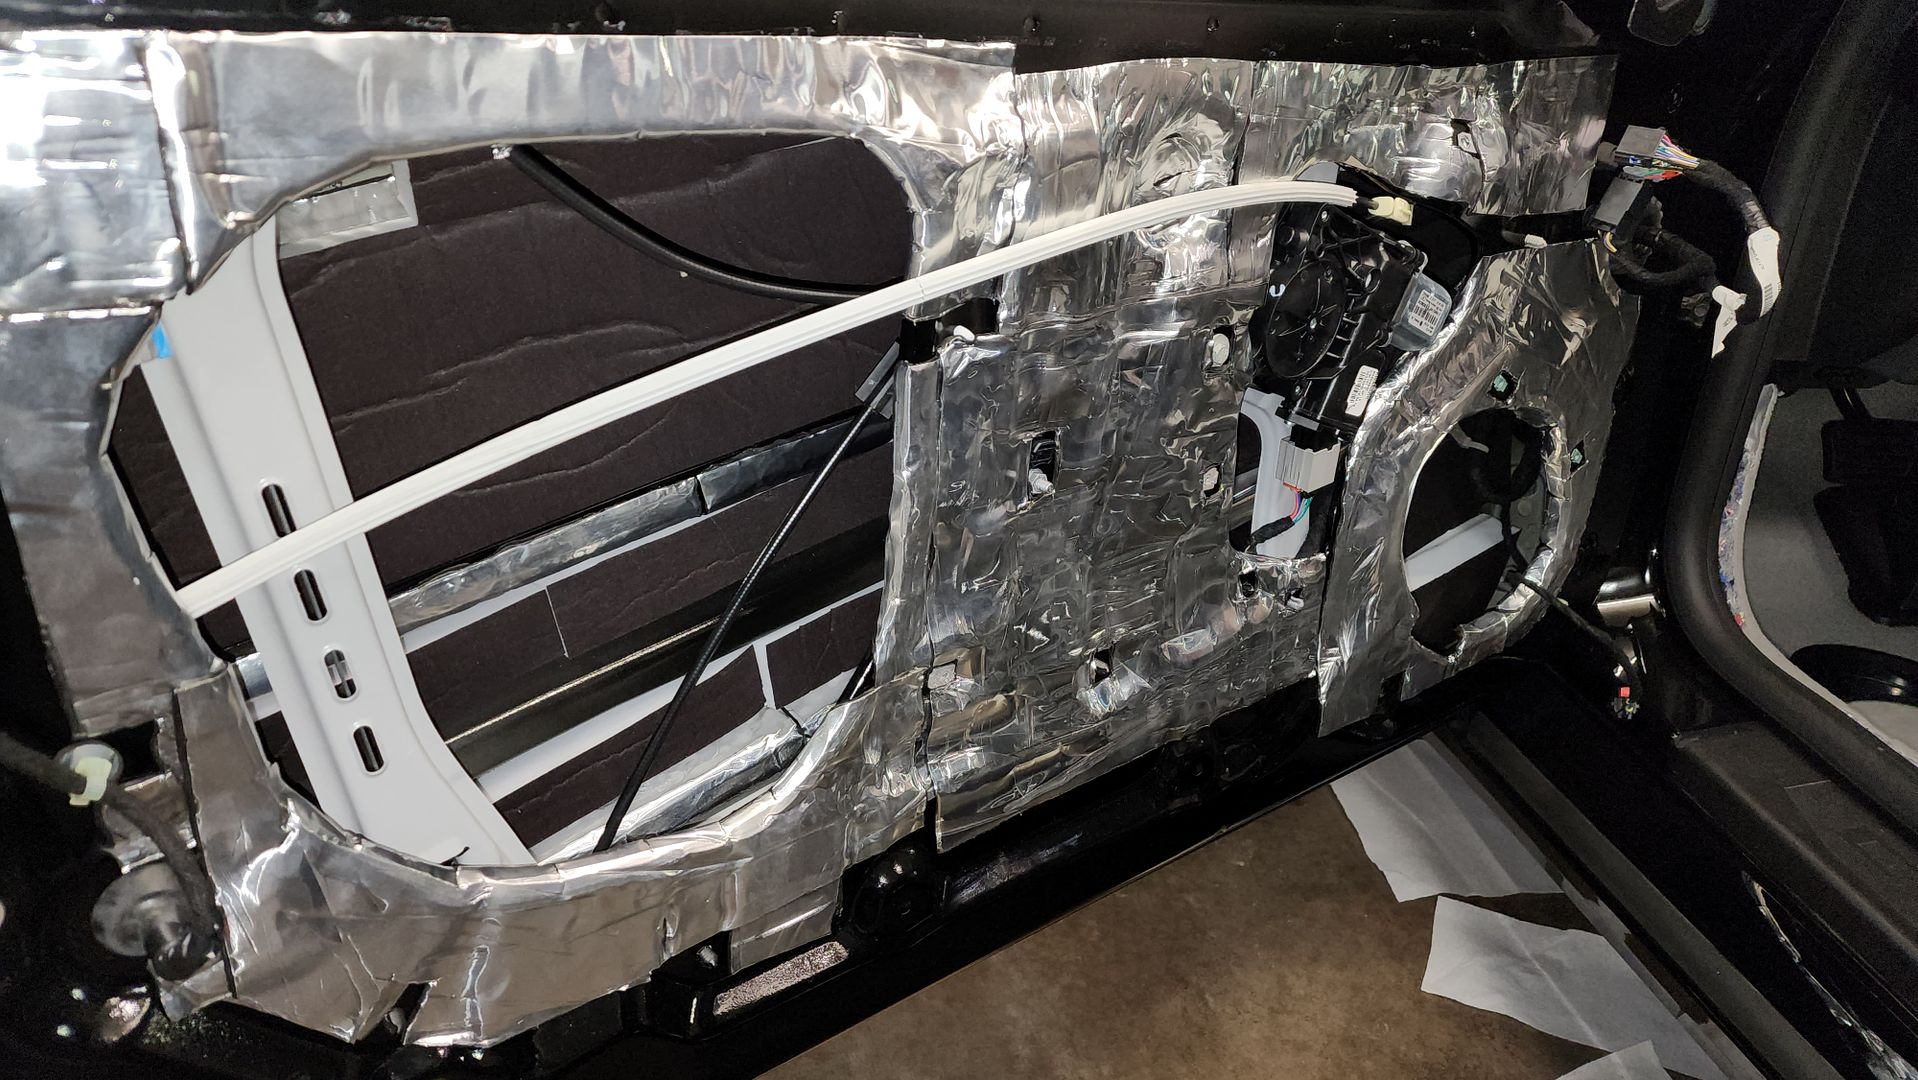
I need to treat and add the speaker mounting bracket next, making that adapter as “dead” as the doors.

Passenger door is in-process, and you can see how thick Guardian is. I’ve even added strips in the wells of the “W” shaped brace.
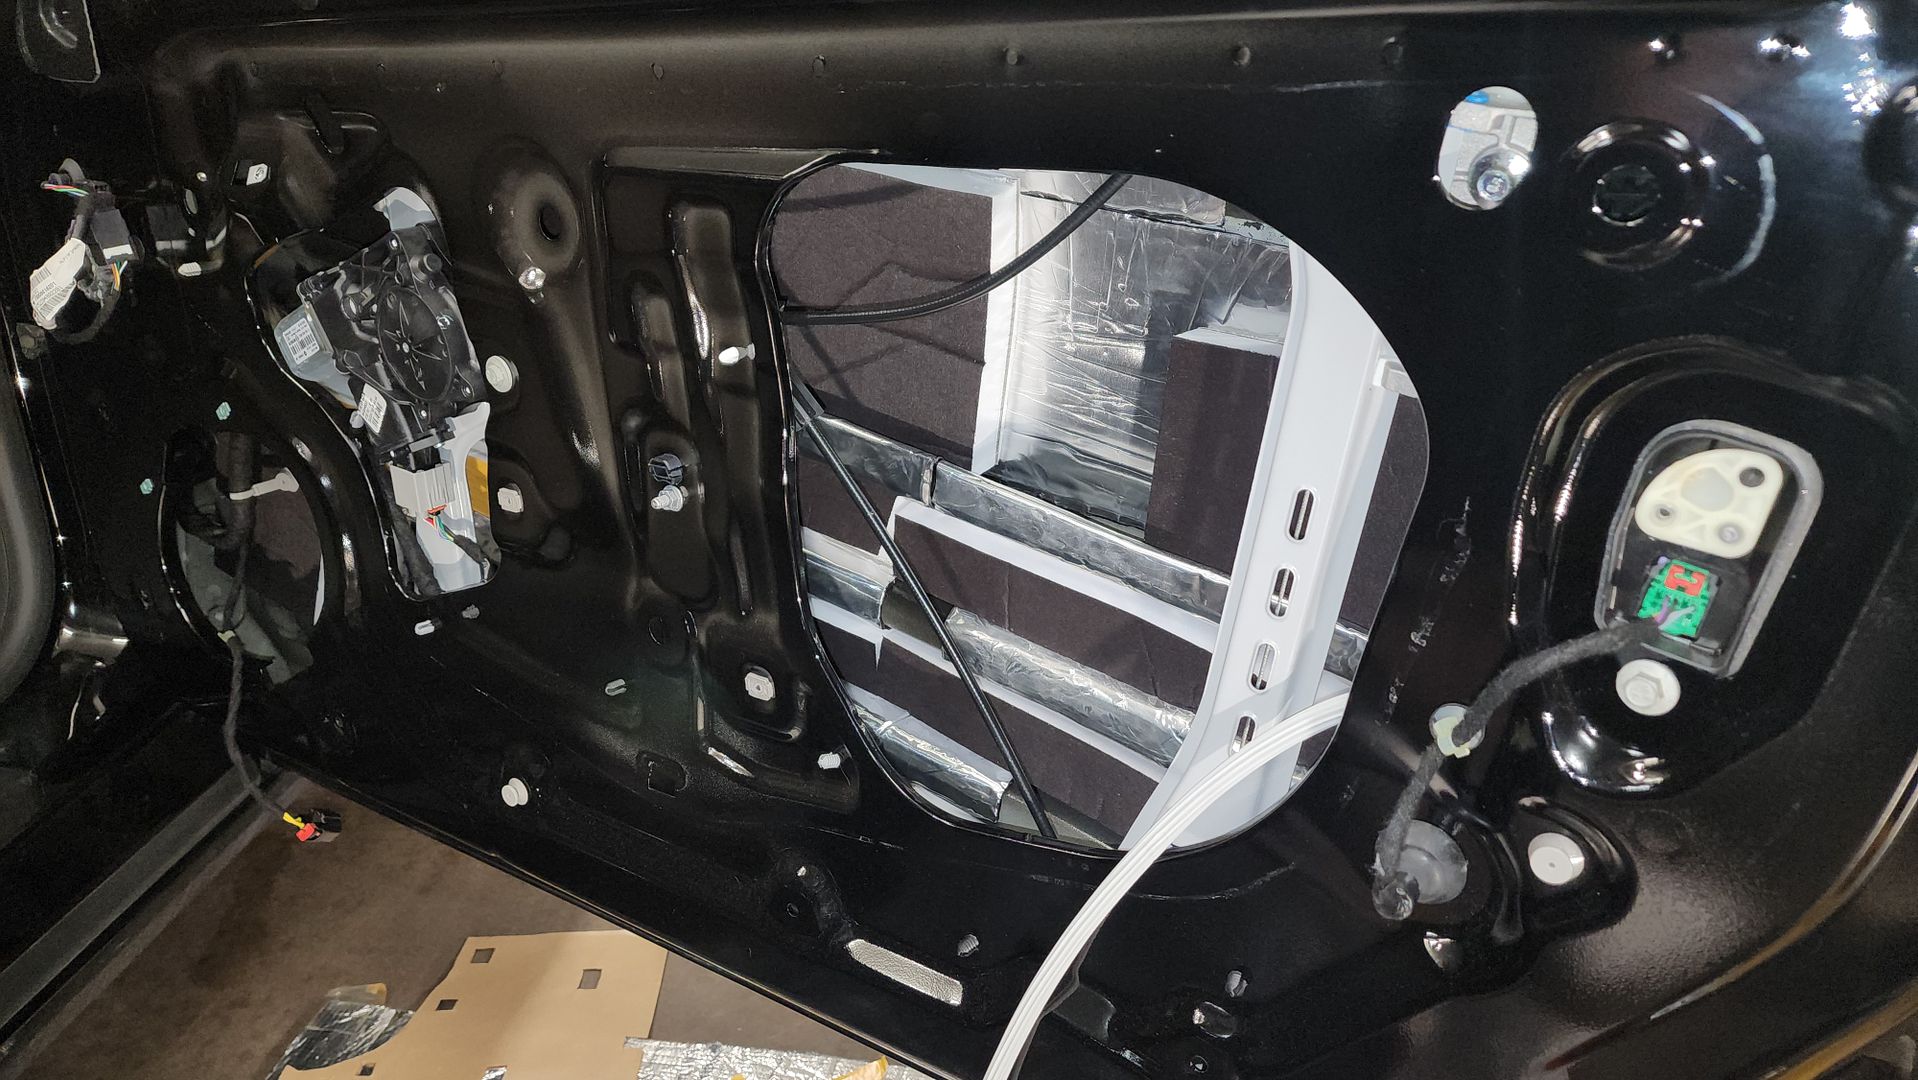
I have more to add, and the process of adding this is tedious. I’m taking videos of the process to share on my channel once I have the doors wrapped-up.
