You are browsing corvette7 

 01-03-2014, 10:46 PM
|
#1 |
 Drives: 2016 ZL1 1LE Join Date: Nov 2013
Location: Tampa, FL
Posts: 35
|
DYI Clear Bra Installation
As a true DIY'er and possessing a heavy dose of reckless abandon, I decided to install my own clear bra.
I visited several websites selling precut clear bra kits. I chose to buy mine from a company called Invisible Mask. I am sure other vendors are equally viable. Do your homework and choose the one that best suites you. I have never installed a clear bra before in my life. I purchased the hood kit first which consists of precut patterns for the hood, fenders, and mirrors. Success installing this kit would result in the purchase of the bumper kit. I also decided to record my efforts on the GoPro and either document my glorious success or complete comical failure. Disclaimer: I have no affiliation to any brand names or trademarks mentioned or shown in pictures. The package shipped promptly and came well packaged and protected: 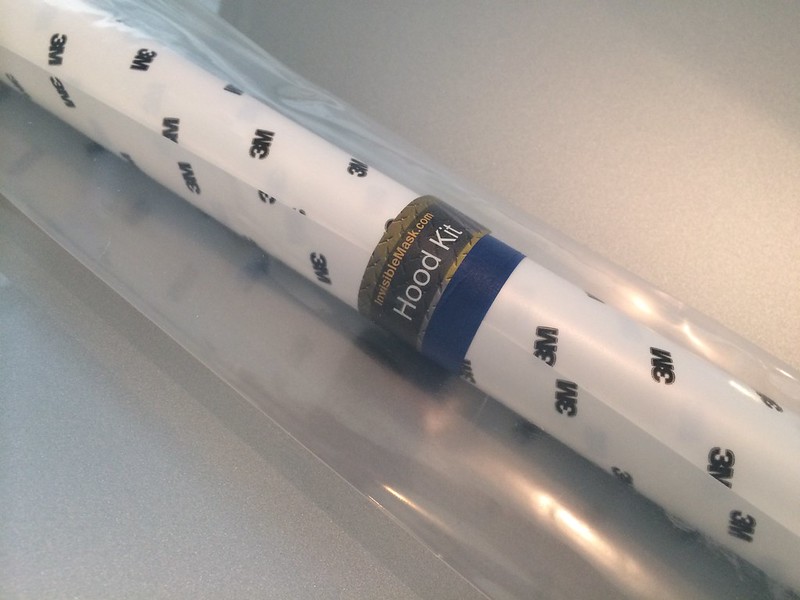 I prepared three spray bottles of slip solution containing distilled water with 4-5 drops of Johnson & Johnson baby shampoo each. This is used to prevent the bra material from sticking to the hood before its time. I also prepared two spray bottles of tack solution containing 2/3 distilled water and 1/3 isopropyl rubbing alcohol (although I only used less than 1 bottle). The "tack" solution displaces the "slip" solution where sprayed and promotes tacking of the clear bra to the paint surface. 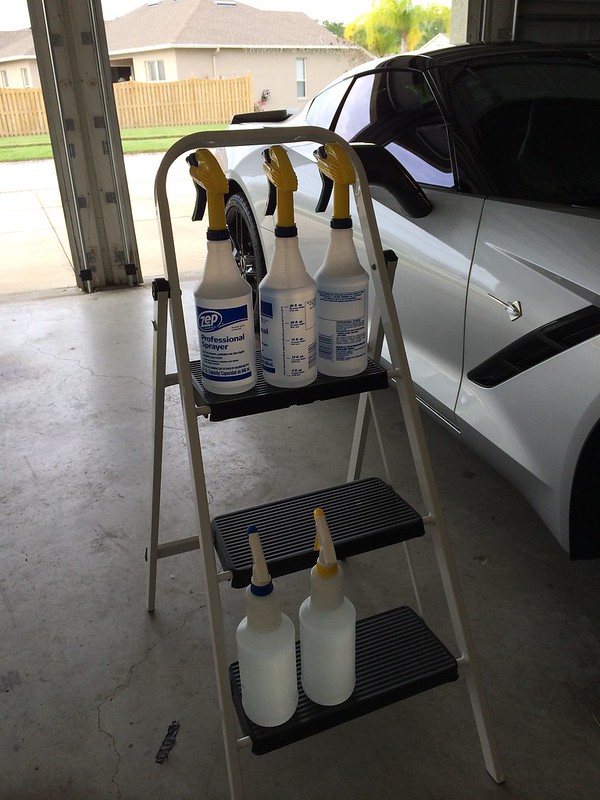 I prepped the car as follows: Strip paint sealant by washing with kitchen dish soap. Rinse car very well. Throw away wash mitt. Spray area with slip solution and wipe dry. Spray area with tack solution and wipe dry The following 9 minute video is of how I muddled through installation of the passenger side of the hood bra. I'm no Pro but heck, it worked.... |

|

|
|
01-04-2014, 03:51 AM
|
#2 |
|
asptroopa1

Drives: 2014 Corvette Join Date: May 2013
Location: Little Rock Arkansas
Posts: 373
|
Great Post....hey when you come to Arkansas for your vacation (to get away from the warm weather) I'll let you earn some gas money.....mine's even the same color, so you should do it be a piece of cake!
|
|
|
|
|
01-04-2014, 09:33 AM
|
#3 | |
|
Drives: 2016 ZL1 1LE Join Date: Nov 2013
Location: Tampa, FL
Posts: 35
|
Quote:

|
|
|
|
|
|
01-04-2014, 12:32 PM
|
#4 |
|
asptroopa1
Drives: 2014 Corvette Join Date: May 2013
Location: Little Rock Arkansas
Posts: 373
|
Looks great.....so how much was that kit and how much did you save by doing it yourself..........
|
|
|
|
|
01-04-2014, 01:15 PM
|
#5 | |
|
Drives: 2016 ZL1 1LE Join Date: Nov 2013
Location: Tampa, FL
Posts: 35
|
Quote:
|
|
|
|
|
|
01-05-2014, 10:18 PM
|
#6 |
 Drives: Z51 3LT, 2009 Pilot, 2012 Ody Tours Join Date: Sep 2013
Location: Muscle Shoals, AL
Posts: 113
|
I agree. Great post and very informative!
You placed the material 1/8" from the leading edge of the hood. Was the precut material also 1/8" shy of the leading edge of the vent requiring the material to be stretched in two directions? Other pics I have seen have material being "over and around" the edges. Just wondering because skill and technique obviously play a big part. TX, Sam |
|
|
|
|
01-06-2014, 07:44 PM
|
#7 | |
|
Drives: 2016 ZL1 1LE Join Date: Nov 2013
Location: Tampa, FL
Posts: 35
|
Quote:
You can also have the material cut to wrap the edges of the hood. I chose not to because I was told that in very hot climates, the expansion of the bra may cause funny things to happen it. I was not able to verify the claim but erred on the safe side. It would not be hard wrap the edge. You would probably have to stretch just past the corner and let the material shrink around it. |
|
|
|
|
|
01-07-2014, 03:45 PM
|
#8 |
|
Drives: Z51 3LT, 2009 Pilot, 2012 Ody Tours Join Date: Sep 2013
Location: Muscle Shoals, AL
Posts: 113
|
Thanks! Again very informative answer.
|
|
|
|
|
01-13-2014, 11:12 AM
|
#9 |
|
Drives: 2016 ZL1 1LE Join Date: Nov 2013
Location: Tampa, FL
Posts: 35
|
So I finally had time to install the front bumper kit. It was a piece of cake...NOT!
I needed my steamer, heat gun, and a total of 4 hours of my time but finally got it on and it is near perfect. Installing the hood and fender kit certainly developed the skillsets needed to pull off the bumper. In the end, I would do it again but I'm not sure if I would automatically recommend everyone DIY. It certainly requires dexterity, a certain level of fitness (not joking!), and virtuous patience at times. Having said that, I'm going to tempt fate again with my wife's 2014 Jeep Grand Cherokee. |
|
|
|
|
|
|
|
 |
|
|


